Step by step

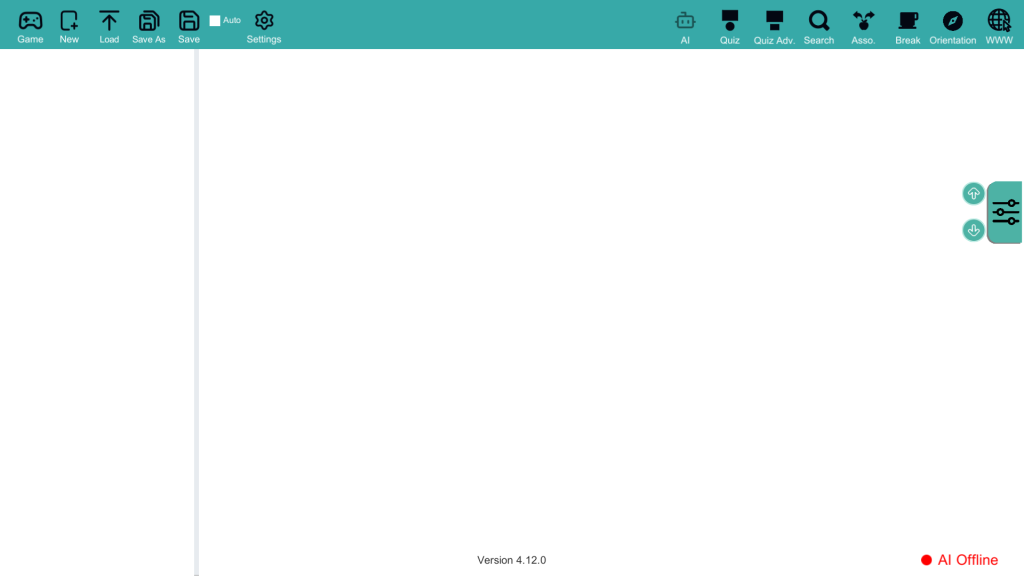
MQ Editor Overview

MQ Editor Overview

  • The MQ Editor lets you create engaging, interactive activities with a simple no-code interface.
  • In this example, we’ll build an Emotion Recognition game.
Step 1 – Choose a Layout

Step 1 – Choose a Layout

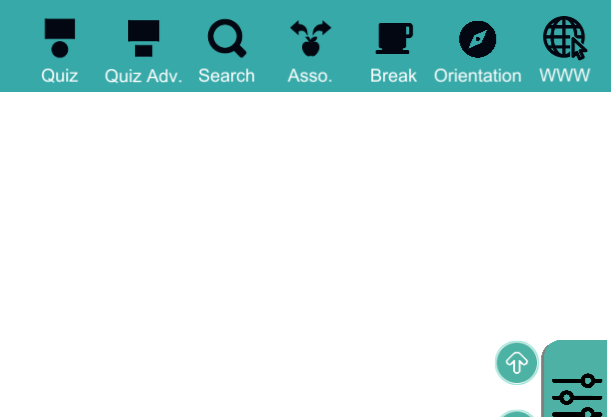
  • The MQ Editor includes a variety of layouts designed for different types of activities.
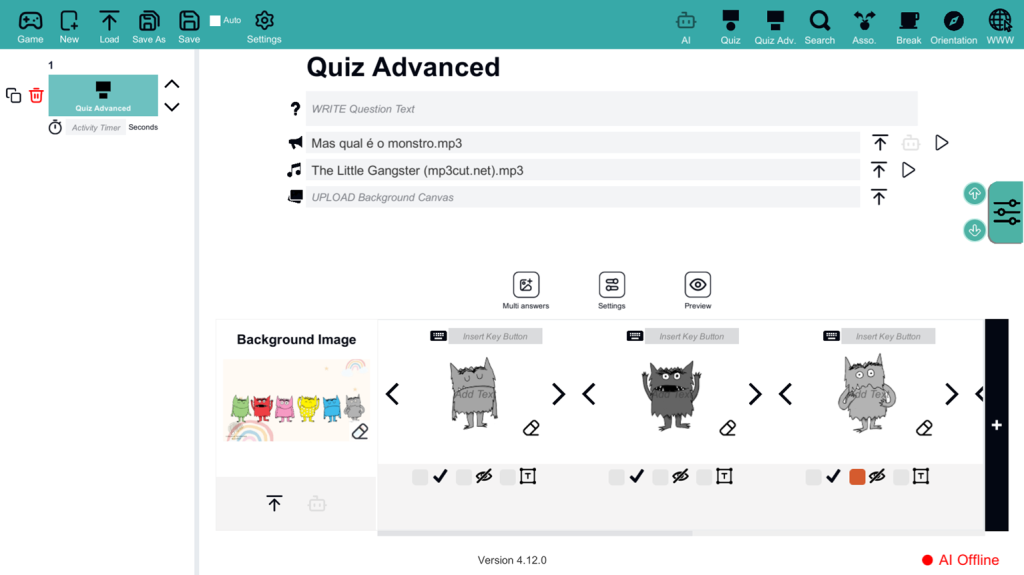
  • For this example, we’ll use the Quiz Advanced layout.
Step 2 – Add Multimedia files

Step 2 – Add Multimedia files

  • Upload multimedia from your computer, including music, sound effects, images, videos, and more.

  • You can also use the built-in AI tools to generate or customize content, helping you create a more engaging and personalized experience.
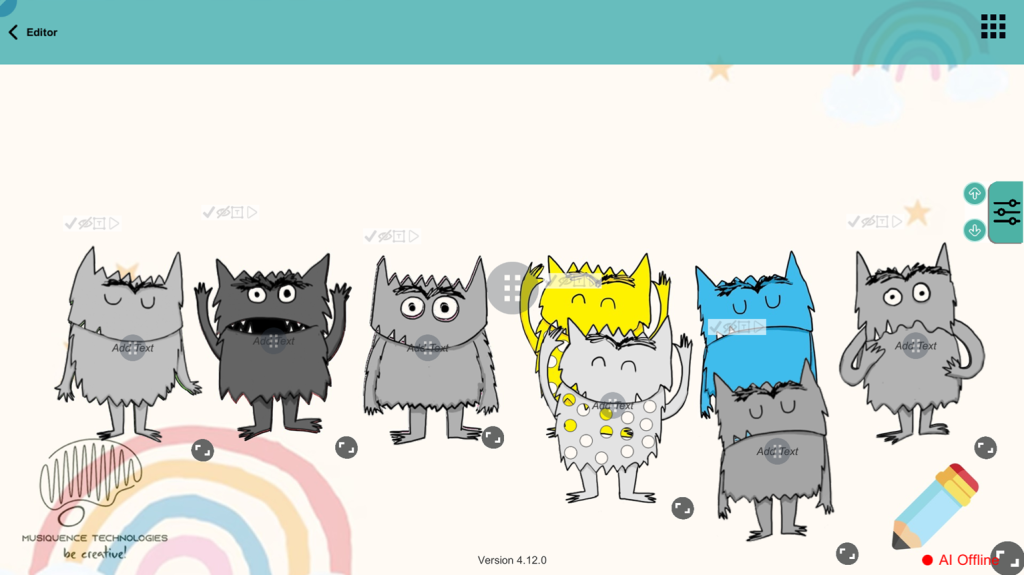
Step 3 – Preview the Activity

Step 3 – Preview the Activity

  • Preview your activity.

  • Check the layout and make any final adjustments to your template.
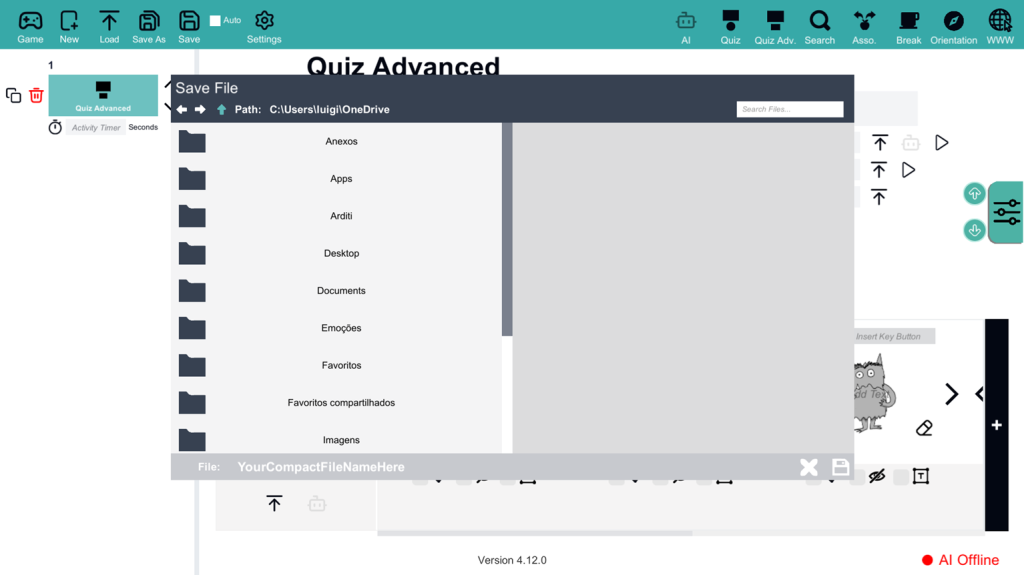
Step 4 – Save Your Activity

Step 4 – Save Your Activity

  • Save your activity to your computer so you can edit or share it later.
Step 5 – Play and Share Your Activity

Step 5 – Play and Share Your Activity

  • Your game is ready to play!

  • Launch it to see it in action, then share it with others.
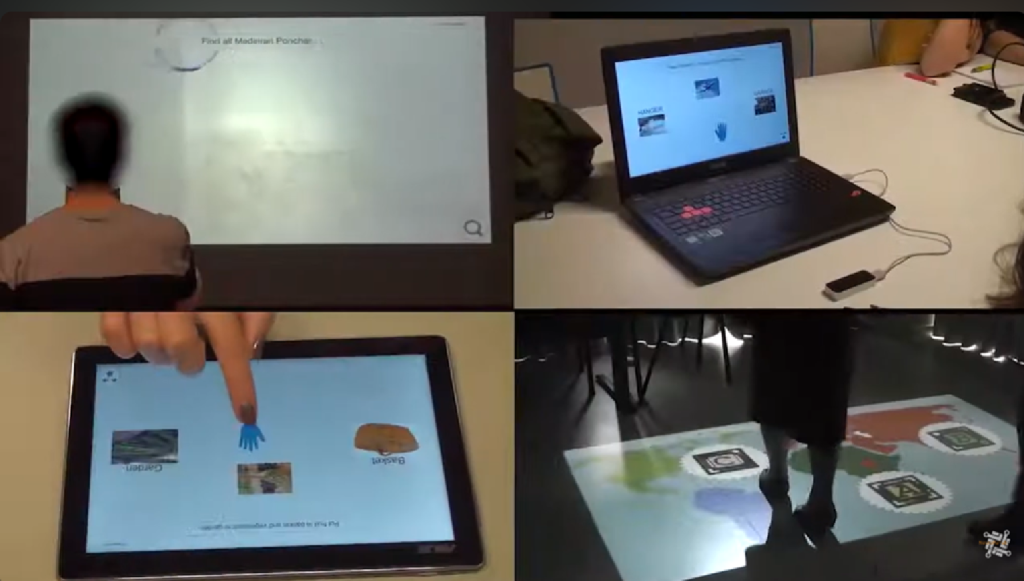
Step 6 – Play on Any Device

Step 6 – Play on Any Device

  • Activities created with Musiquence can be played on a variety of devices, including tablets, interactive tables, PCs, augmented reality (AR) devices, and motion sensor systems.
Want to See a Complete Game?

Want to See a Complete Game?

Explore complete games created with the Musiquence platform.